|
The following instructions are intended to provide instructions for integrating the SmartEye NC 500 series camera with the MiCasaVerde Vera 2 Gateway. The provided instructions cover Vera UI4 release and up.
The instructions assume the following:
1. The Vera2 Gateway has been shipped without SmartEye support, directly from MiCasaVerde.
For these setup instructions, start with Step 1.
In this case the Vera 2 Gateway has already installed the SmartEye XML plug-in file.
For these setup instructions, start with Step 4.
3. The SmartEye IP Camera series NC53X is fully installed and operational.
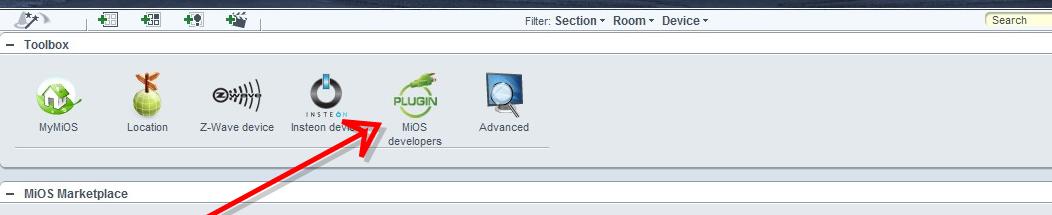
Step 1 – Checking the Plug-in Files
Open the Vera Dashboard UI4 and select MIOS Developers.
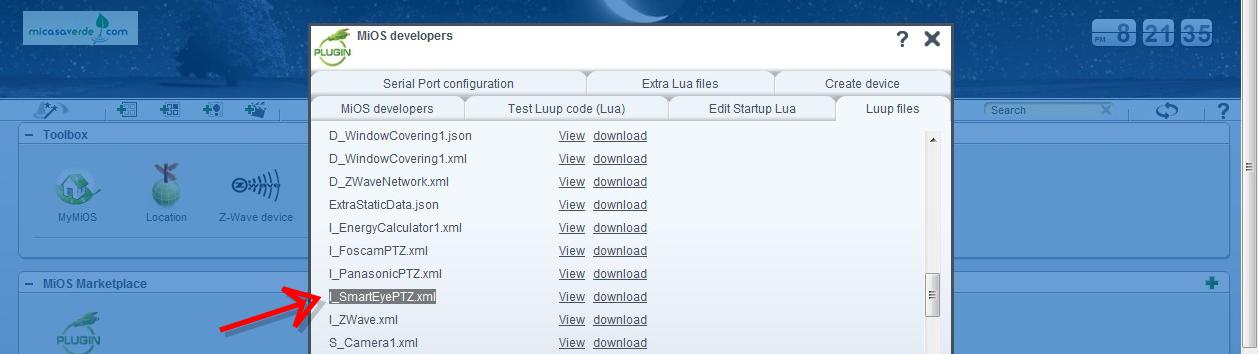
Step 2
Click on the list of available Luup files:
Step 3
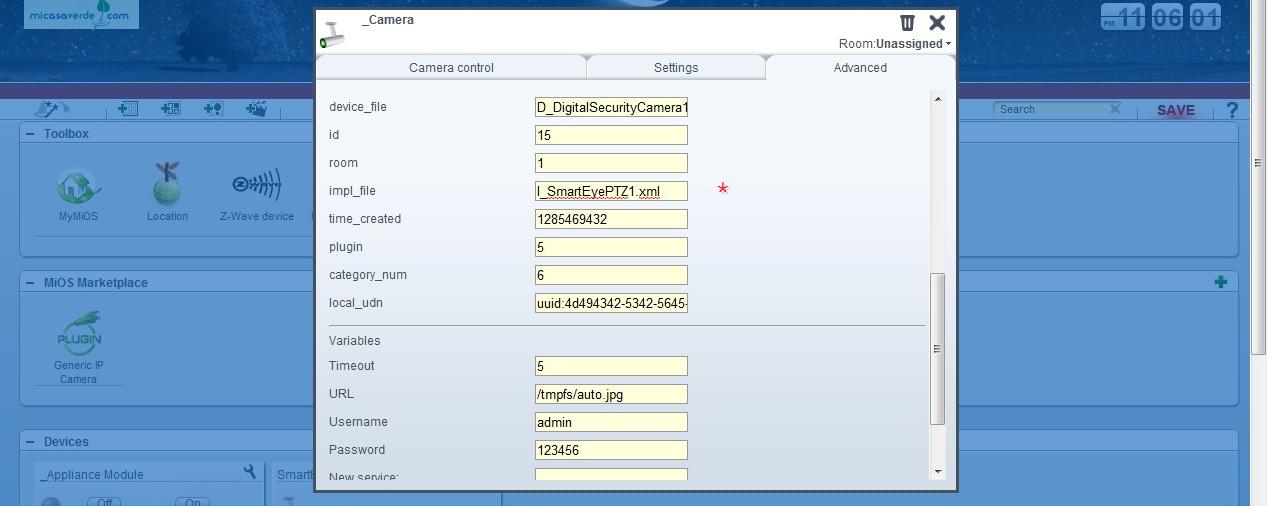
Check the list of available plug-ins. Look for the file named “I_SmartEyePTZ1.xml”.
If the file is available in the Plug-ins list, please skip to Step 4.
continue to Step 4.
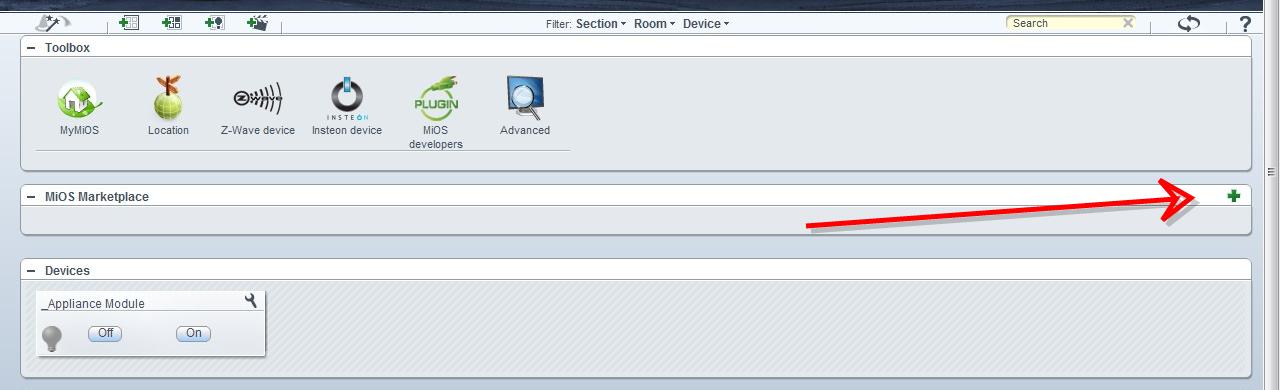
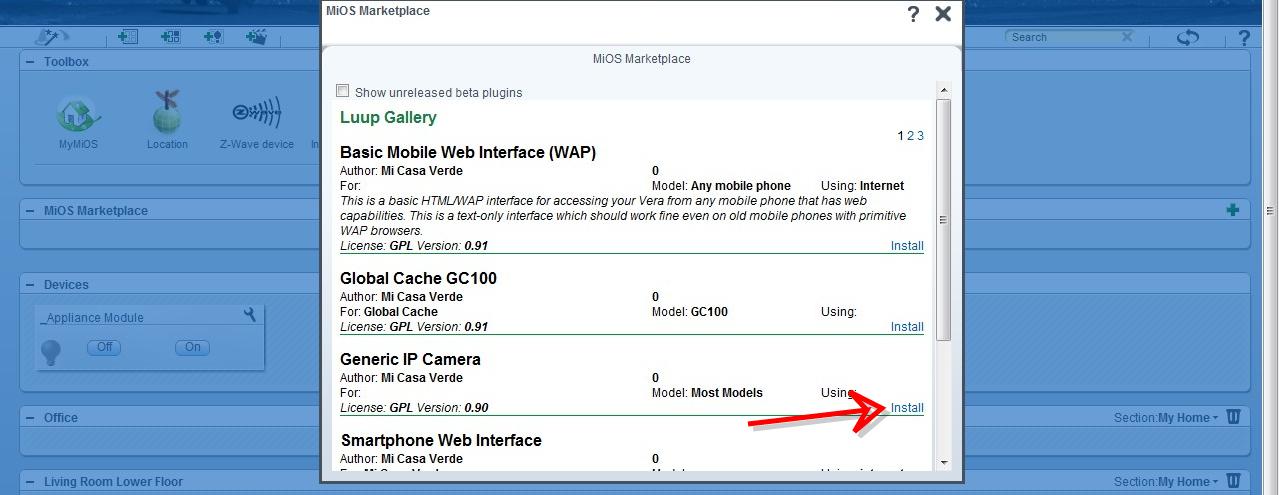
Step 4 – Creating a SmartEye device
Click on the Plus sign (+) of the MIOS Marketplace, Select “Generic IP Camera” and Click “Install”.
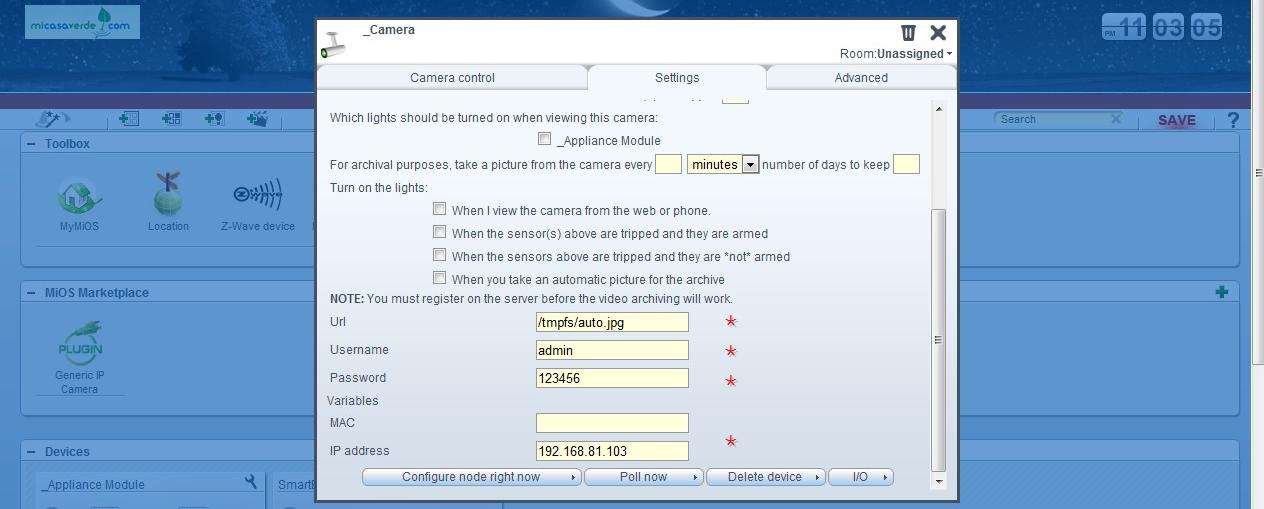
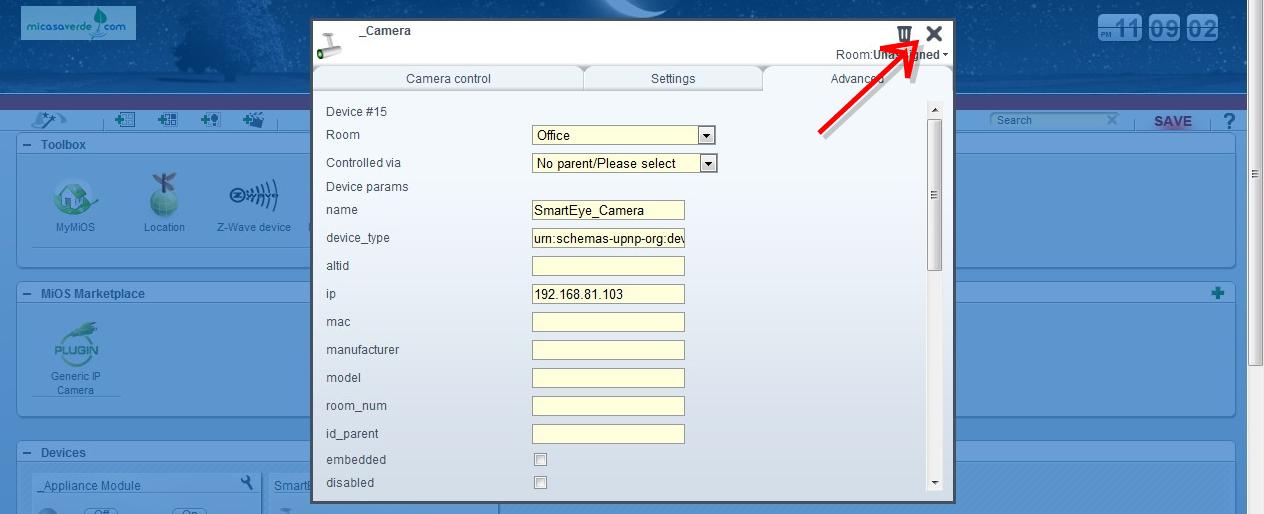
Step 5 – Configure the Generic IP Camera device
Fill out the fields marked with * sign, in Settings and Advanced settings.
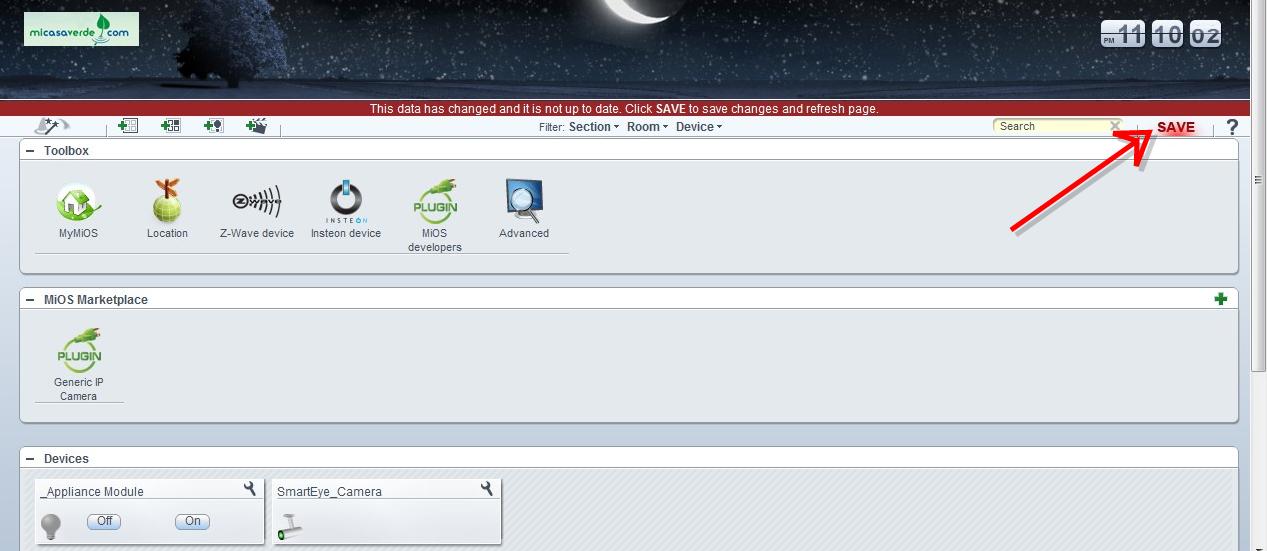
Afterwards exit and Save settings.
After saving the settings, the IP Camera will be viewable in the respective room.
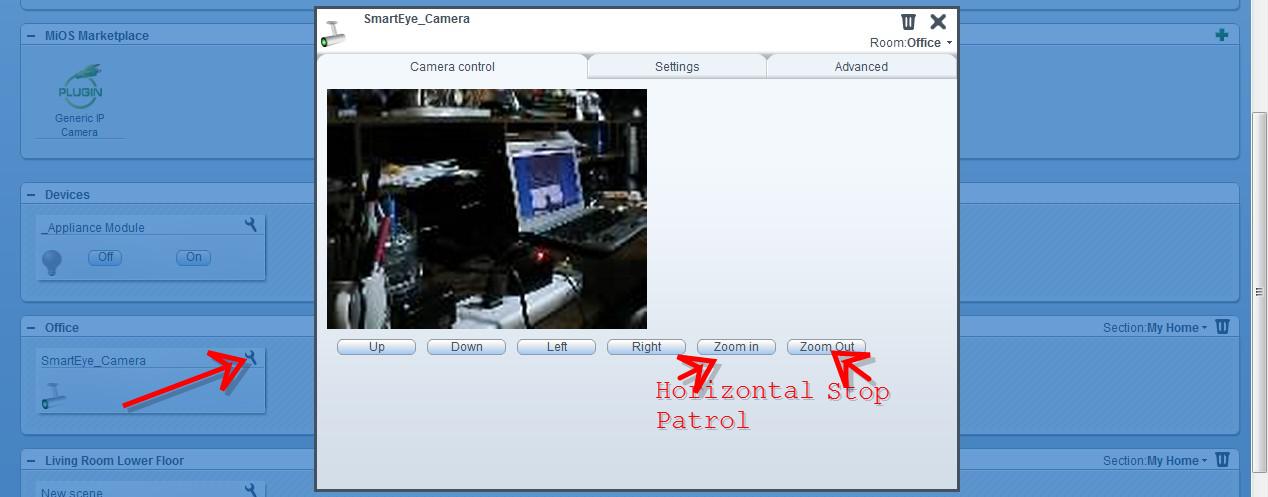
To view the camera, click the setting button for the respective camera.
Note:
The Zoom In and Zoom Out buttons are reassigned to Horizontal Patrol and Stop Patrol.
|